Easy Dotted Nails That Aren’t Polka Dots
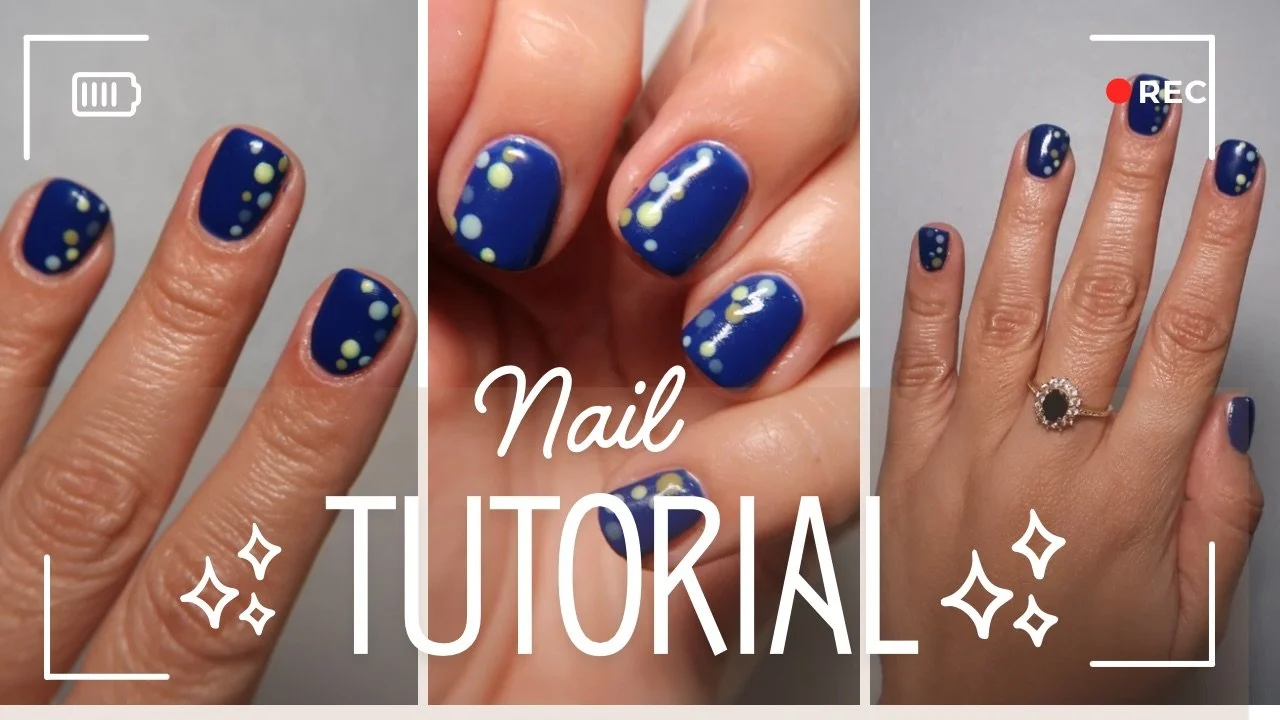
Polka dots have been everywhere for the last few months. I have been loving the different color combination. For this nail art, I want to incorporate dots and colors without having the same uniform pattern. I wanted to create a nail look that had a cluster of dots.
Recreate this nail look at home (Video tutorial below) :
Pick out a base color and 4 colors for the dots that will compliment the base color.
Prep, prime, and apply your base coat.
Apply two coats of the base color. I used Gelcare “Klein Blue” , a deep blue. Depending on the color and look you are going for, more or less coats may be needed. If you are using gel, make sure to cure for 60 seconds between coats
Use a dotting tool, or any item with a pointy tip like tooth pick or pen, I apply 1-2 dots of one color randomly on my nail, concentrating on the right-side. The dot placement and size do not need to be the same. Once the I like the placement of all the dots, I flash cure for about 10 seconds. For my dot colors, I used:
I repeat step 4 until all color have been used. Once done, check to see if you want to add more dots. If everything looks good, cure for 60 seconds
Apply your top coat and cure.
